Overview of asset pages
Asset-specific pages, or asset pages in short, are pages that are relevant to a certain asset. Examples include the Dashboard, the Properties page, the Components page, and so on.
Navigating to an asset opens its Dashboard page, which leads to other asset pages. Certain asset pages (such as Properties) are available for all asset types. Other pages only appear for relevant types; for instance, locations have a Layout page, but network switches do not.
Asset components (such as network cards, logical partitions, hard drives, and so on) are listed on the Components page of the asset they belong to. They do not have dedicated asset pages. Similarly, rack shelves are listed in the Layout page for rack assets, and do not have their own asset pages.
Note
You can only view asset pages for assets that you have access to. Depending on your access privileges, you will be able to view all of the asset pages for a given asset, or none. The ability to create, update, or delete records will depend on your user role.
The Dashboard page
The Dashboard page acts as the “landing page” for a given asset. It features:
Widgets that showcase relevant data points for the asset
Links to other asset pages (from tabs or Information menu items)
Relevant commands (under the Actions menu)
All assets have a Dashboard page. However, the availability of a given widget, asset page, or command depends on the asset type.

Tip
Administrators can customize Dashboard pages to show, hide, or arrange widgets per asset type.
The Layout page
The Layout page only appears for the following asset types: busway, location, PDU/RPP, rack, rack PDU. You can open the page from Dashboard → Layout.
Note that the Layout page’s user interface differs based on the asset type:
For busways: a grid of tap-offs
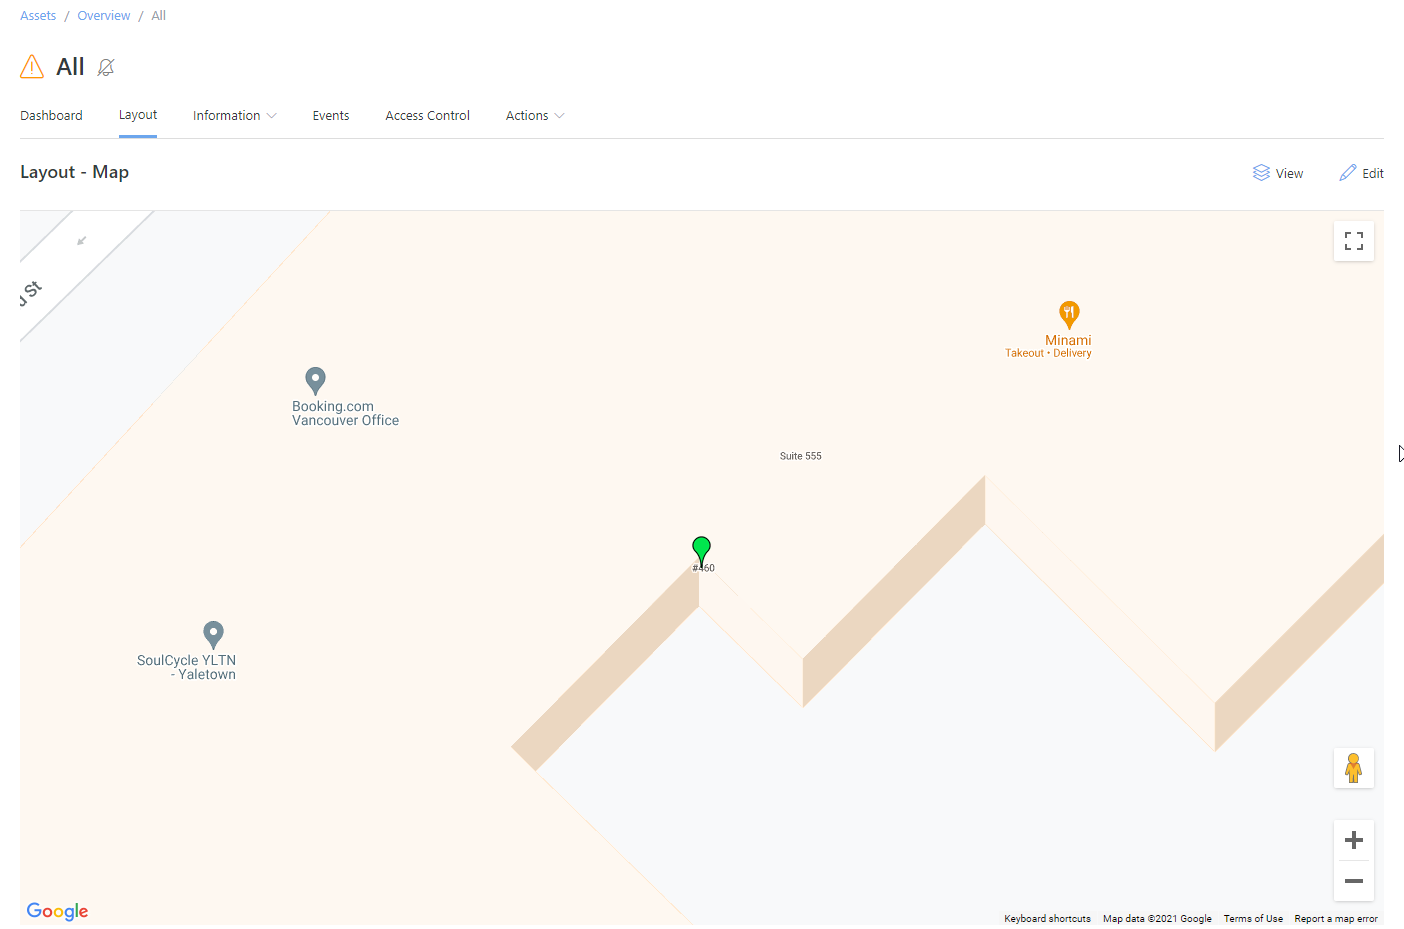
For locations: a location map or floor plan
For PDU/RPPs: a grid of breakers
For racks: a visual representation of the front or back of the rack, alongside “Zero U and Unplaced” and “Shelves” grids
For rack PDUs: a grid of outlets
The following screenshot shows the Layout page for the All location.

The Events page
The Events page is available for all asset types. It shows alarm event notifications for the asset (for example, if a particular sensor threshold was reached or exceeded).

Tip
The Events page for the All location (Asset Hierarchy → All) indicates if a Data Collector is stale or outdated.
The Access Control page
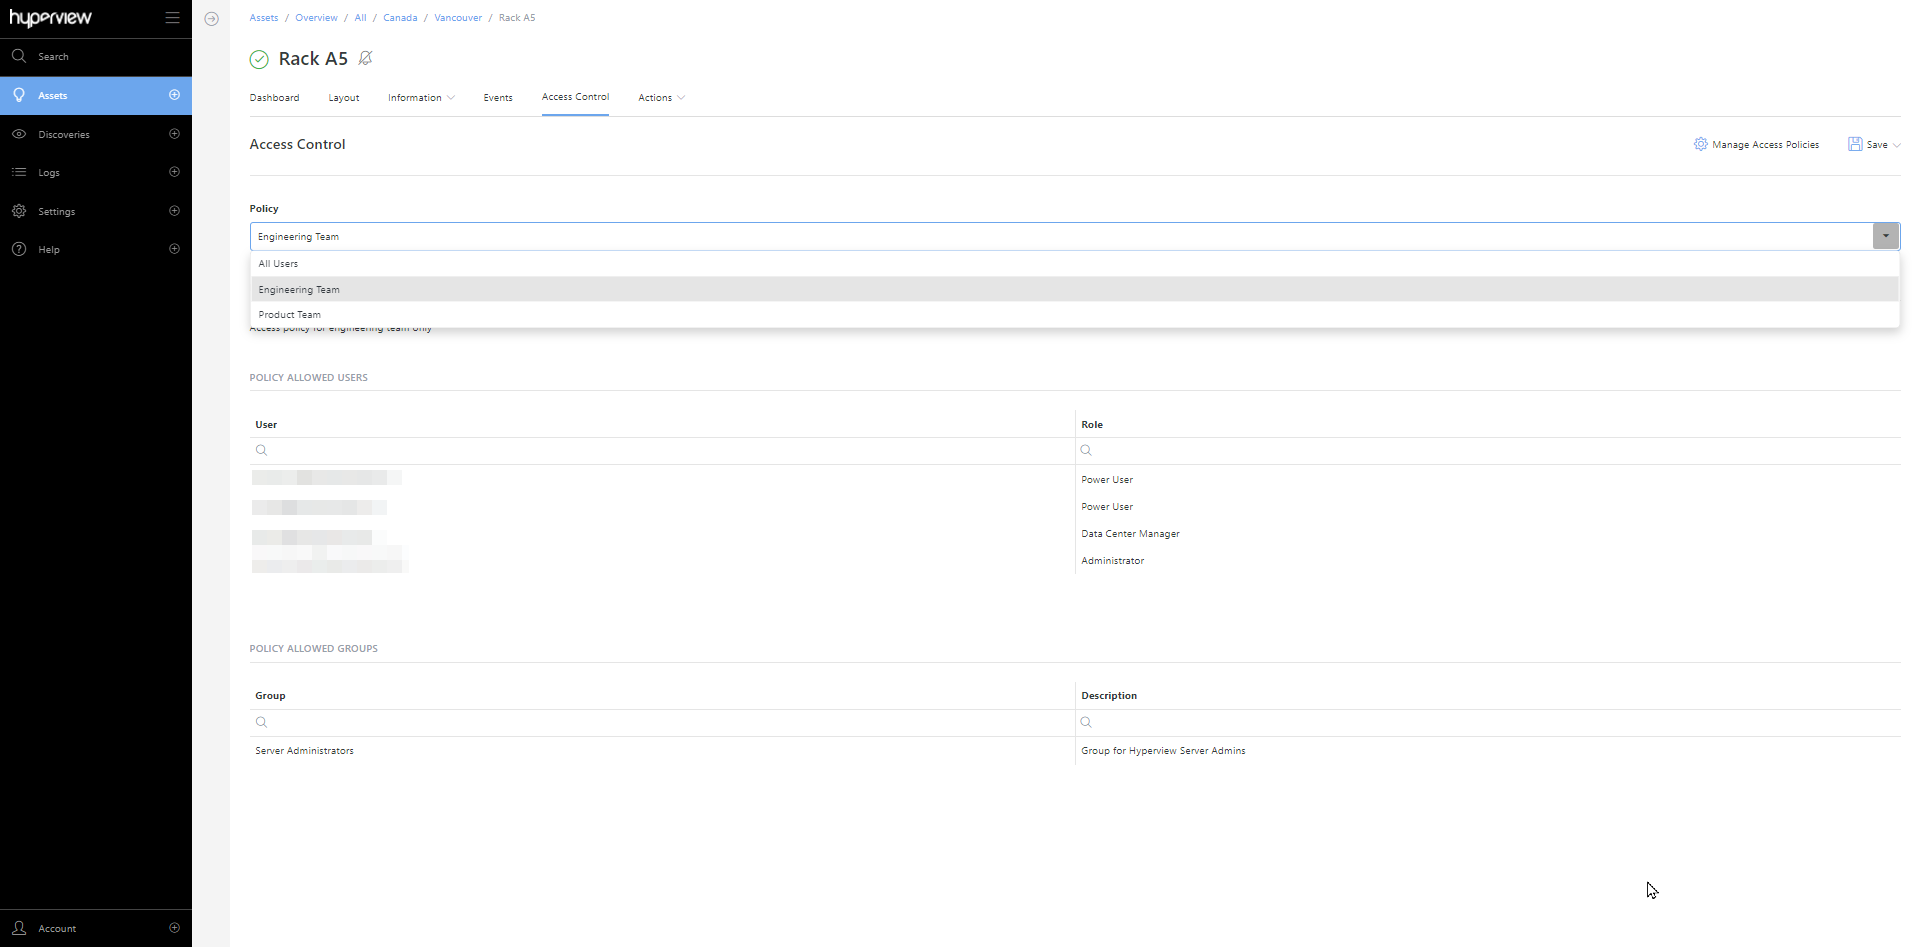
The Access Control page lets you view or update the asset’s current access policy. It also includes a link to navigate to the Access Policies page.

Information pages
The Information menu (Dashboard → Information) lets you open additional asset pages. These include:
Properties (lets you view and update asset properties)
Custom Properties (lets you assign custom property values for the asset)
Assets (lets you view, export, and perform bulk actions against asset descendants)
Change Log (the asset change log)
Components (lists asset components, such as memory, processors, and so on)
Control Credentials (lets you apply access control credentials for the asset)
Custom Components (lets you add a custom component for the asset)
Discovery Report (shows the Discovery Report for the asset)
Documents (lets you manage documents associated with the asset)
Lifecycle (allows you to set the asset lifecycle state)
Network Components (lists network components such as IP addresses, network interfaces, and so on)
Power (lets you manage power sources)
Power Path (shows power-connected devices and device details)
Sensor Monitoring (lets you update the asset’s sensor monitoring profile, for instance from “Discovered” to “Manual”)
Sensors (allows you to view, graph, delete, and export sensor data; also lets you add manual sensors)
Software (lists apps, libraries, and other software installations for the asset)
Which pages are available will depend on the asset type. Moreover, the Control Credentials and Documents pages are only available for Rack Security and Document Management licensees, respectively.