Quickstart
Hyperview is a next-generation, cloud-based Data Center Infrastructure Management (DCIM) software with superior monitoring, capacity planning, and administration experience. This document is for a first-time Hyperview user who will set up the application for their organization as an Administrator.
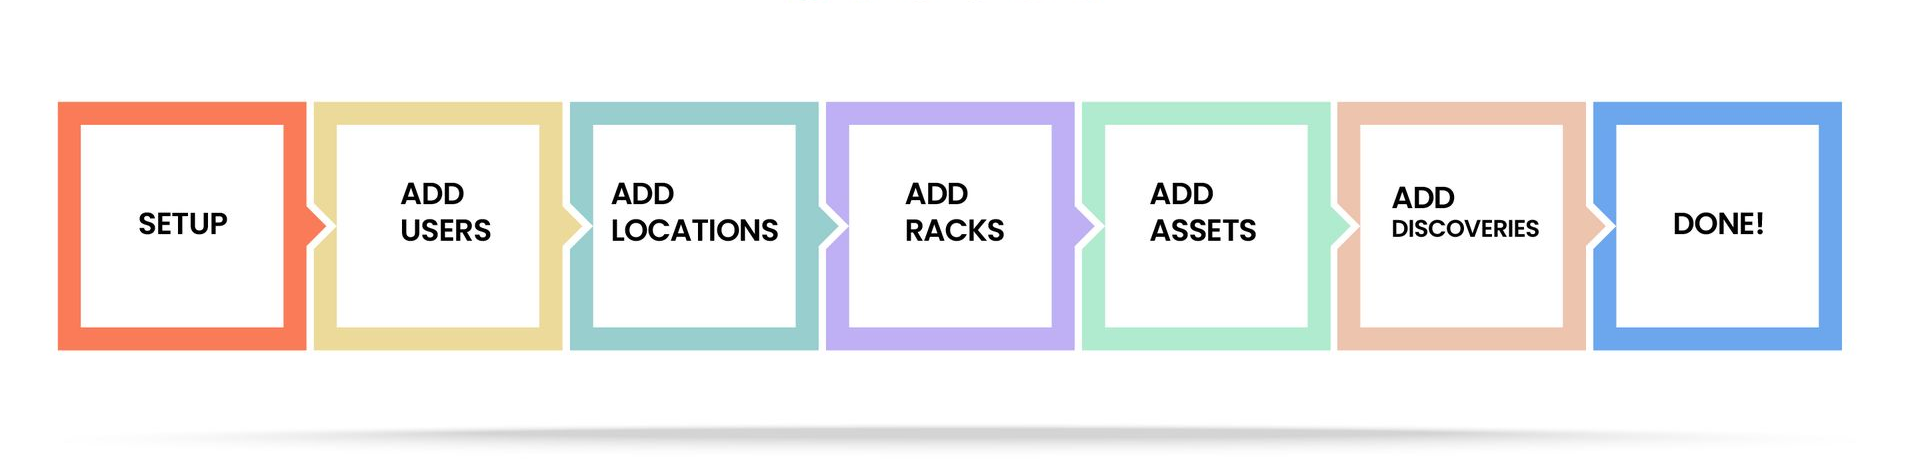
The following high-level diagram depicts the application onboarding process from start to finish.
Prerequisites
Supported web browsers
Hyperview is tested with the following browsers:
We recommend using your preferred browser’s latest stable version for security and compatibility reasons.
Hyperview Data Collector
You must install and register the Hyperview Data Collector on at least one server that is networked with your devices to be able to monitor and discover them.
Gathering data
We recommend collecting the following information beforehand to streamline the process.
A list of web domains used by your company (for example, “example.com”)
A list of users, including their email addresses and intended application role (Administrator, Data Center Manager, Power User, Read Only, or Reporting)
Physical addresses and background images (such as floor maps) for all your data center locations
A list of all your racks, including their location, model, and manufacturer
A list of all your assets, including their location, model, manufacturer, and serial number
A list of IP addresses or ranges for devices that you wish to include or exclude from discovery scans
Setting up domains, groups, and users
A user account in Hyperview corresponds to a real-world user. Individuals can have multiple user accounts to satisfy different job functions (for example, IT Manager and QA). You must create domains, groups, and user accounts. Refer to Administering user accounts for detailed documentation.
Creating locations
Locations in Hyperview are considered groups for containing assets. The default location is All.
Once you’ve created a location, it will appear in the Asset Hierarchy (Assets → Overview → Asset Hierarchy) under its parent. Proceed to add a location layout and location map.
Tip
You can also create a location from the right-click menu in the Asset Hierarchy (right-click parent location → Add New Location). Similarly, you can create non-location assets from the Asset Hierarchy, such as racks, PDUs, and so on (right-click parent asset → Add New Asset).
Adding racks
Racks (and shelves within them) contain rackable assets, such as servers. Like locations, racks and rack shelves cannot be bulk imported or discovered, so you need to create them manually.
Adding a rack to a location layout
You can surface a rack on its location layout to be able to visually interact with it (provided the location has a layout and a grid, as shown in the location layout video above).
Open the Layout page of the location → Edit.
Drag the rack from the Asset Hierarchy to a grid tile in the location layout.
Adding shelves
You can add shelves to racks for fine-grained asset placement. (Zero U and unplaced assets will appear in their own category in the rack’s Layout page.)
Open the Layout page of the rack → Add Shelf.
Enter details and save.
Adding assets
An “asset” in Hyperview lingo refers to devices and objects at a given location. These include IT equipment, facility infrastructure, containers, virtual machines, blades, and so on (see Supported asset types for a complete list).
You can add assets manually, as you did for locations and racks, but typically, you will want to bulk import or discover them. See Adding assets for detailed documentation on bulk importing and manually adding assets. Discoveries are covered in the following section.
Moving an asset to a rack elevation
You can move an asset to a rack (provided there is enough free space).
Open the rack layout page.
Drag the device from the Asset Hierarchy tree onto a rack unit in the rack elevation.
Discovering assets
Hyperview lets you automatically discover and monitor networked devices, such as servers, routers, rack PDUs, and so on. Discoveries also populate device metadata (for example, manufacturer-created product images, sensors, etc) and update existing device records to ensure they are up-to-date. For detailed documentation on discoveries, refer to Discoveries and associated topics.
Note
Before you proceed, please make sure you have set up Data Collectors. Only Administrators can perform discovery-related actions.
Adding and configuring a discovery
You need to create a discovery before you can discover any devices.
While configuring the discovery, refer to the list of IP addresses that you had prepared during the planning stage.
Running a discovery
You can run a discovery at any time and schedule it to run later (on a one-time or recurring basis). Discovered assets will be generated or updated in your specified location upon discovery. Review the discovery report to confirm that the target devices were discovered and created as intended.
Viewing a discovery report
A report will be generated once the discovery has finished running. Discovered assets will also have the latest asset-level discovery report at asset → Information → Discovery Report.
What’s next?
If you made it this far, congratulations! You’ve successfully set up the application for your team and mastered the basics. Continue to explore Hyperview documentation to keep learning. To stay informed about the latest features and changes, visit our Release notes page.