Creating a New Circuit
This guide offers a walkthrough for creating and managing circuits in Hyperview, making it an essential resource for users looking to streamline connectivity tasks. It covers everything from adding new circuits and connections to managing custom properties and access controls. By following this guide, users can efficiently set up and maintain their circuits, ensuring proper organization and compliance.
Click “Add New” under the Connectivity menu.

Drop down the “Type” field.

Select “Circuit” from the list.

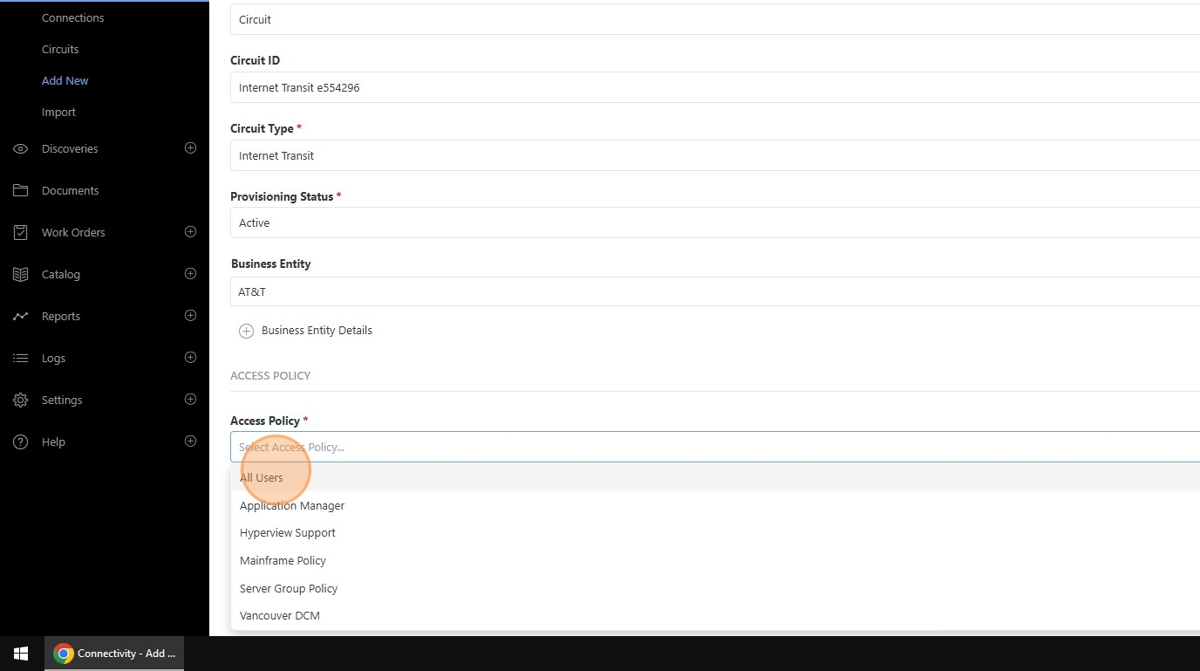
Add a Circuit ID to the ID field.

Note
The Circuit ID field is optional. If not filled, Hyperview will generate an ID based on the Circuit Type property and the automatically generated Circuit ID code.
Complete the Add Circuit form.
Note
Circuit Type and Provisioning Status are drop-down selector fields, but any value can be entered to define a new Circuit Type or Provisioning Status.
Click Add and Continue or Add and Reset to complete adding a new Circuit.

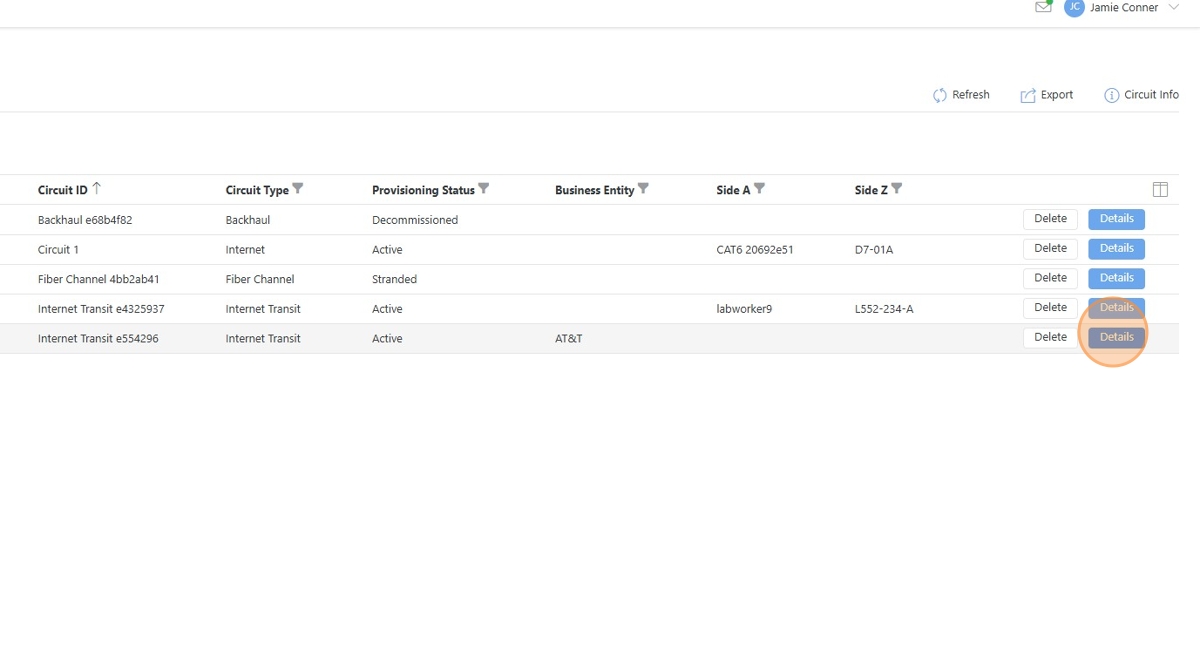
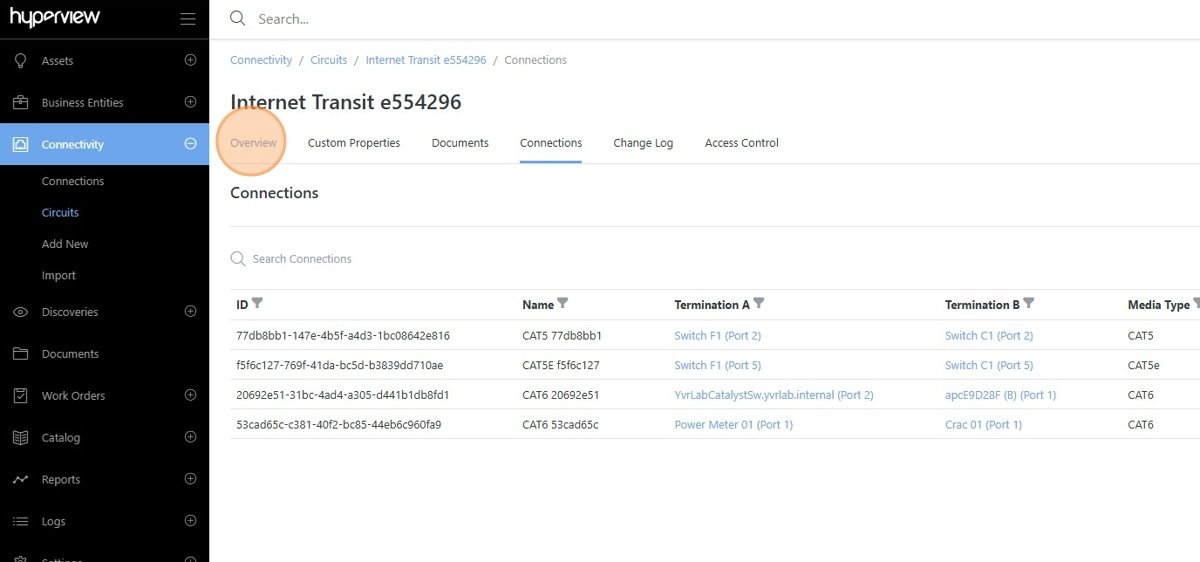
The new Circuit can be found in the Connectivity > Circuits page.

Click the Details button for the new Circuit to edit the Circuit properties.
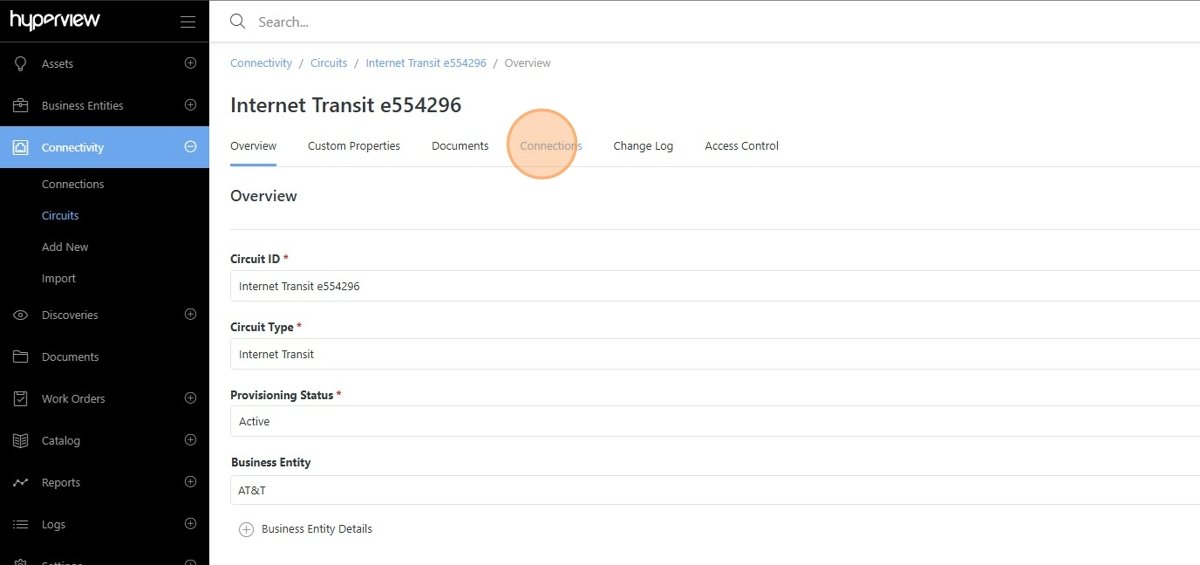
Navigate to the Connections page to add new or existing Connections to the Circuit.
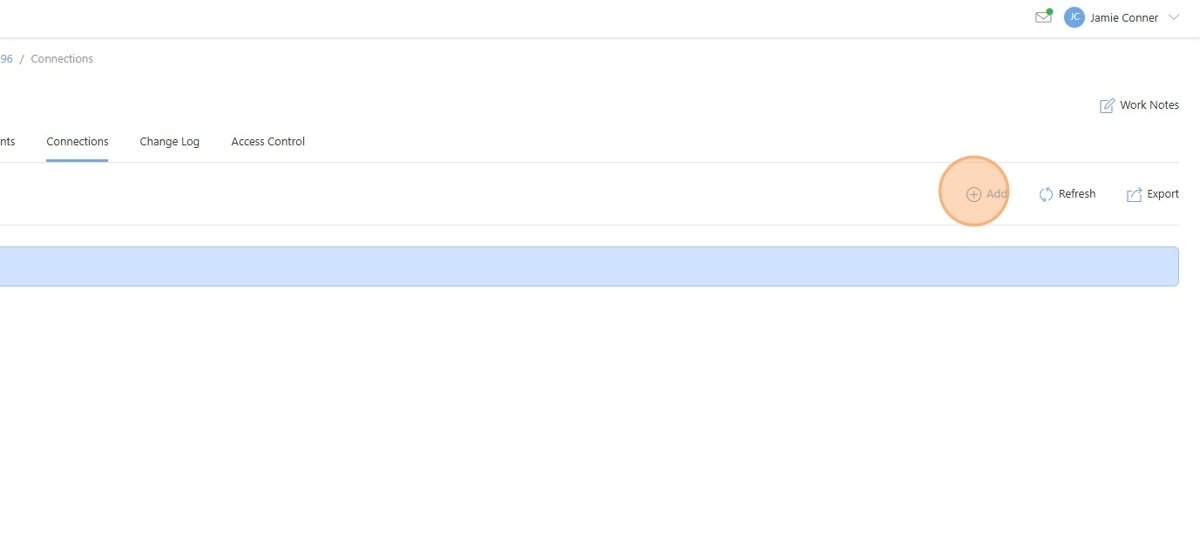
Click the Add button.
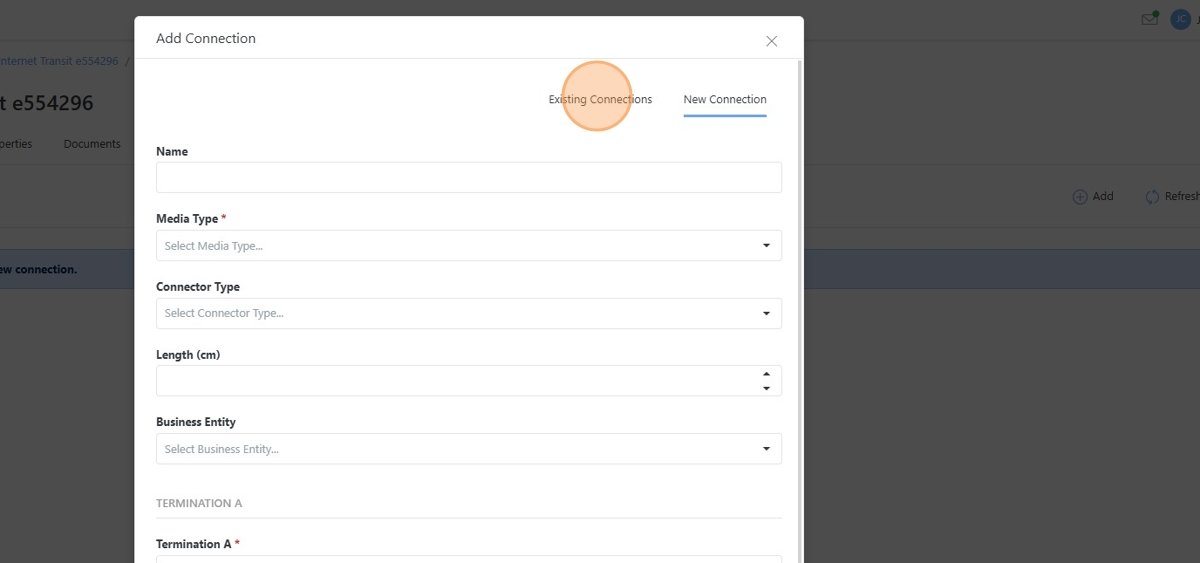
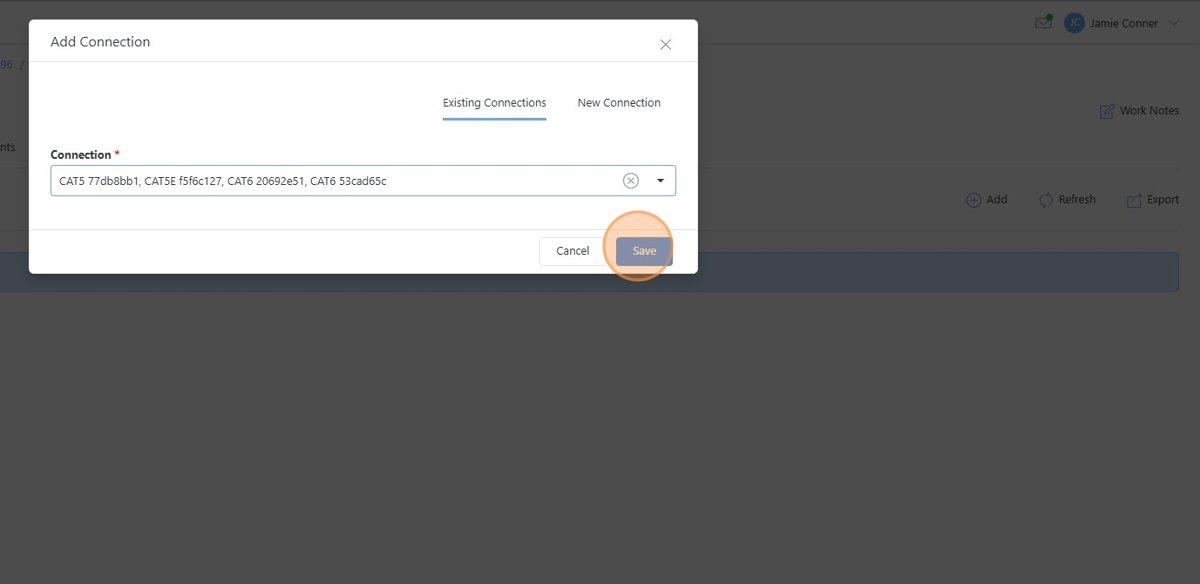
Complete the New Connection form, or select from Existing Connections.
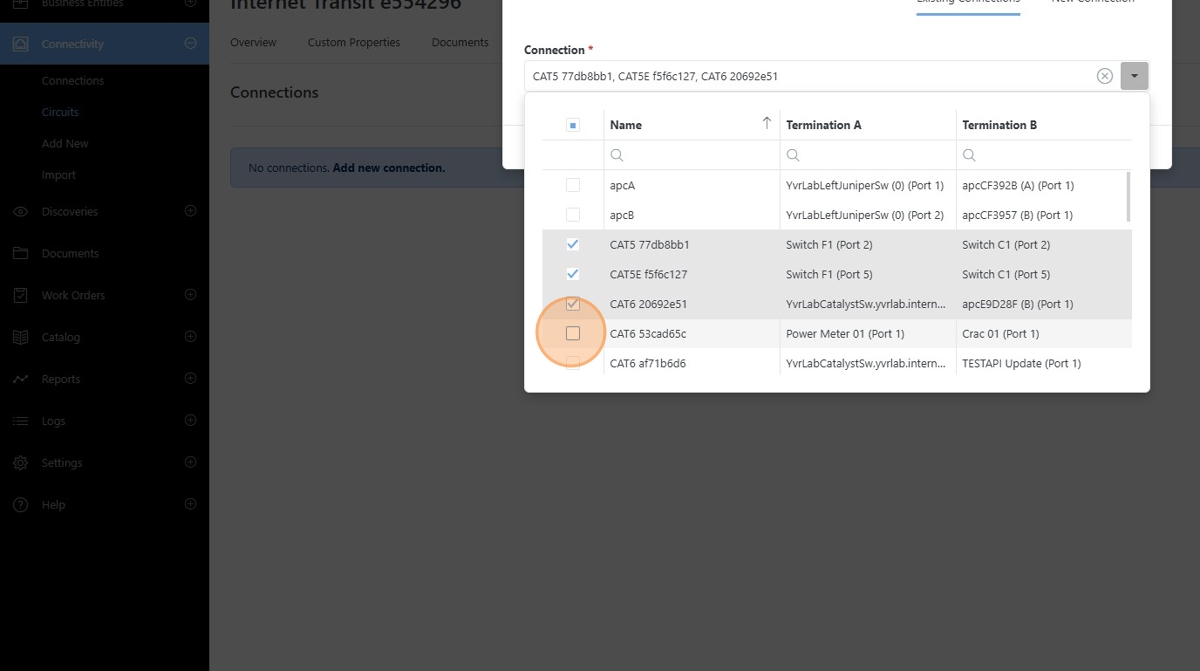
Select multiple connections to add to the circuit.
Click Save to add the connections to the circuit.
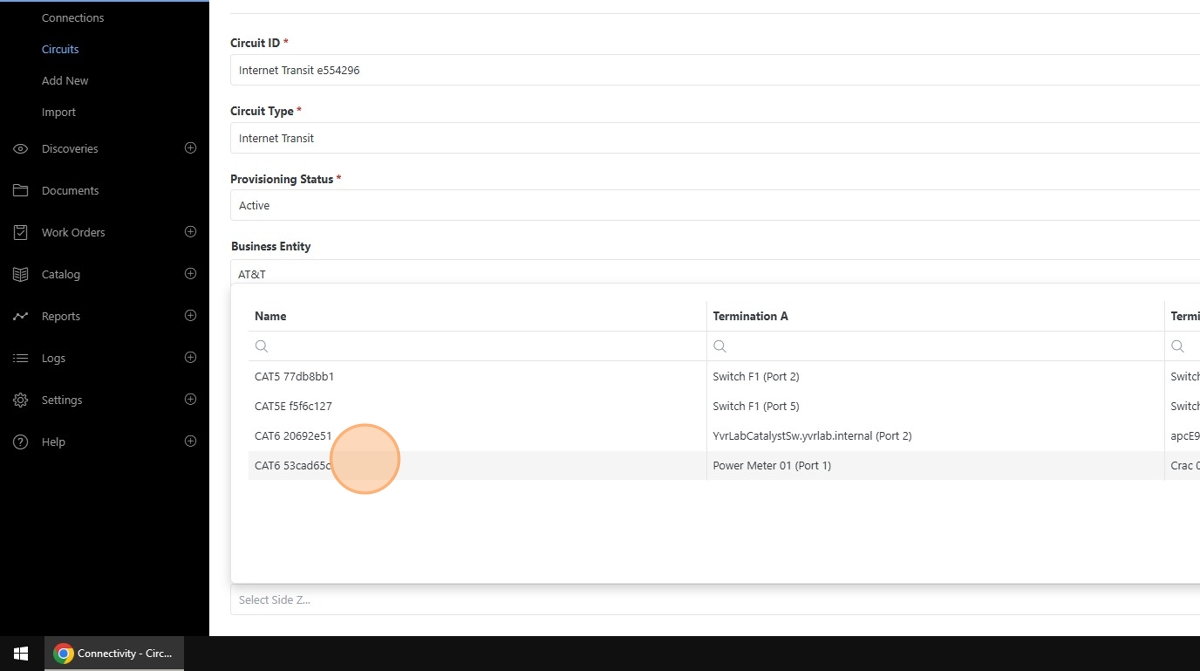
Navigate back to the Overview page to set the connection sides of the circuit.
Open the Side A and Side Z selector and choose the relevant connections for the corresponding circuit side.
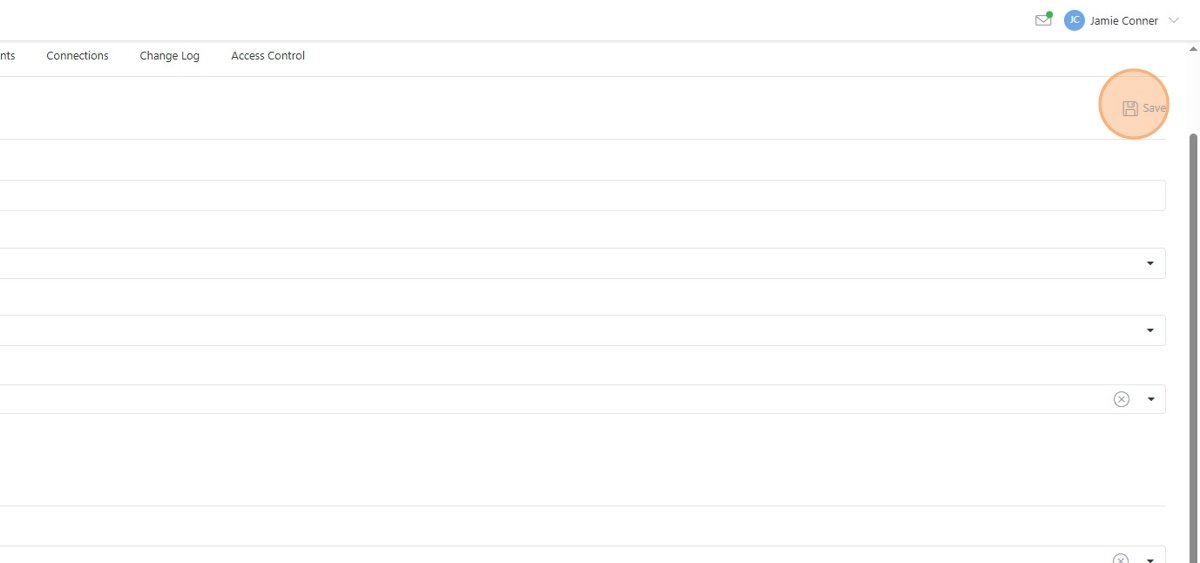
Click Save
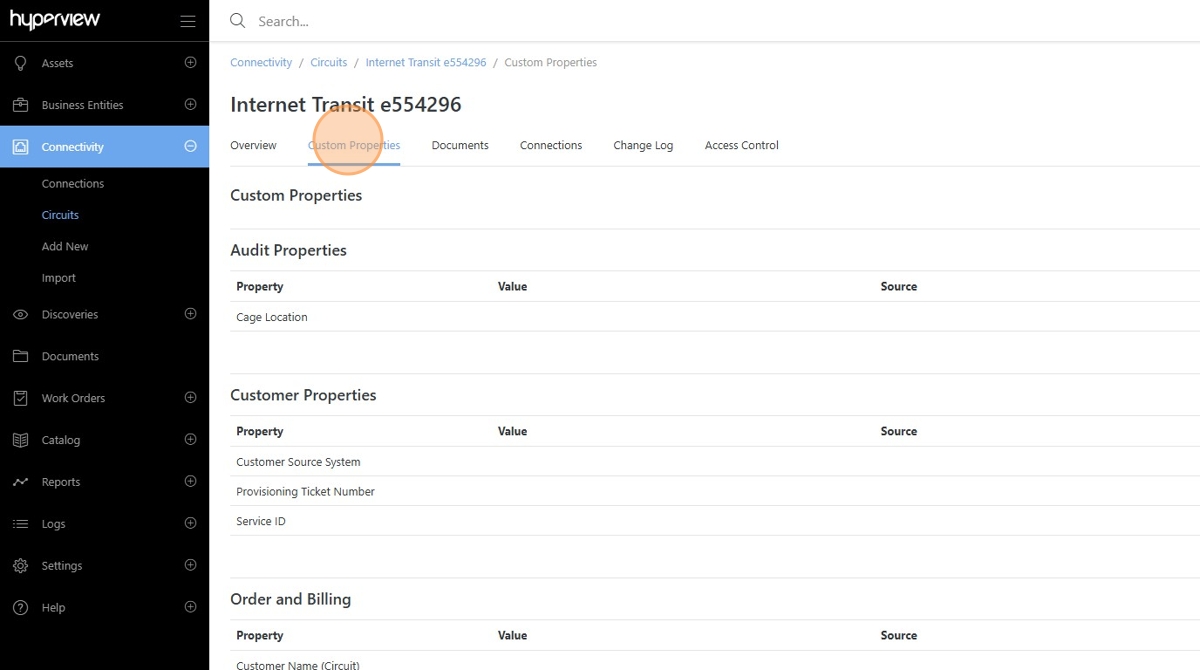
Add Custom property data to the circuit from the Custom Properties page.
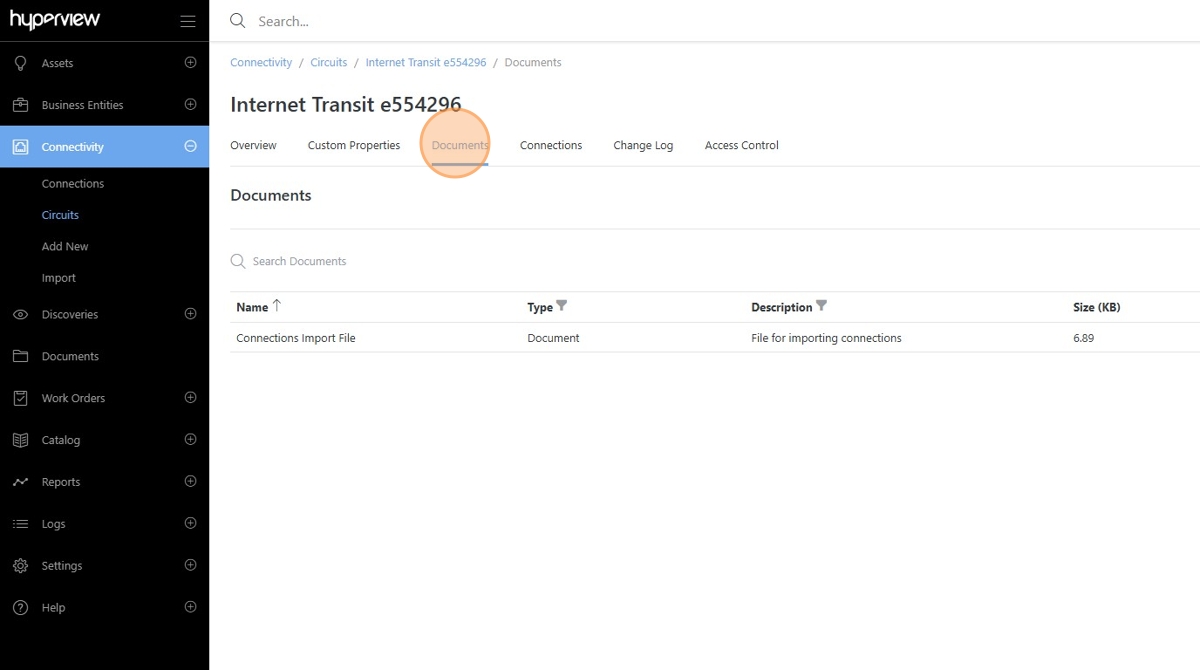
Link or upload documents to the circuit from the Documents page.
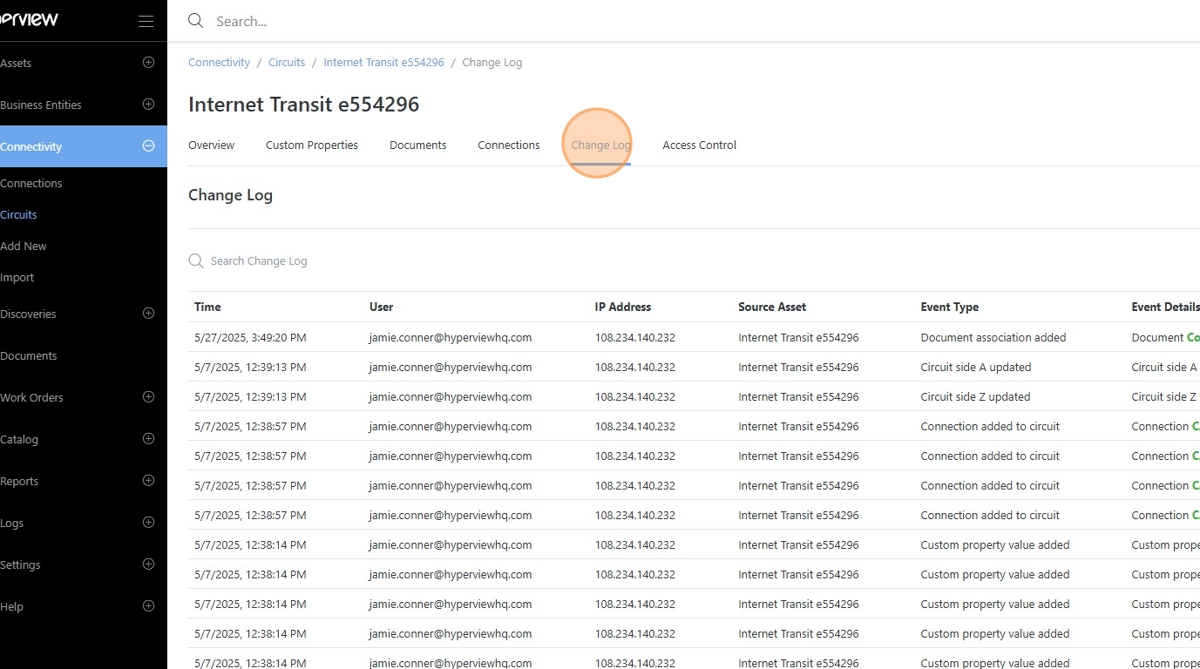
View the circuit Change Log to see the full history of updates to the circuit.
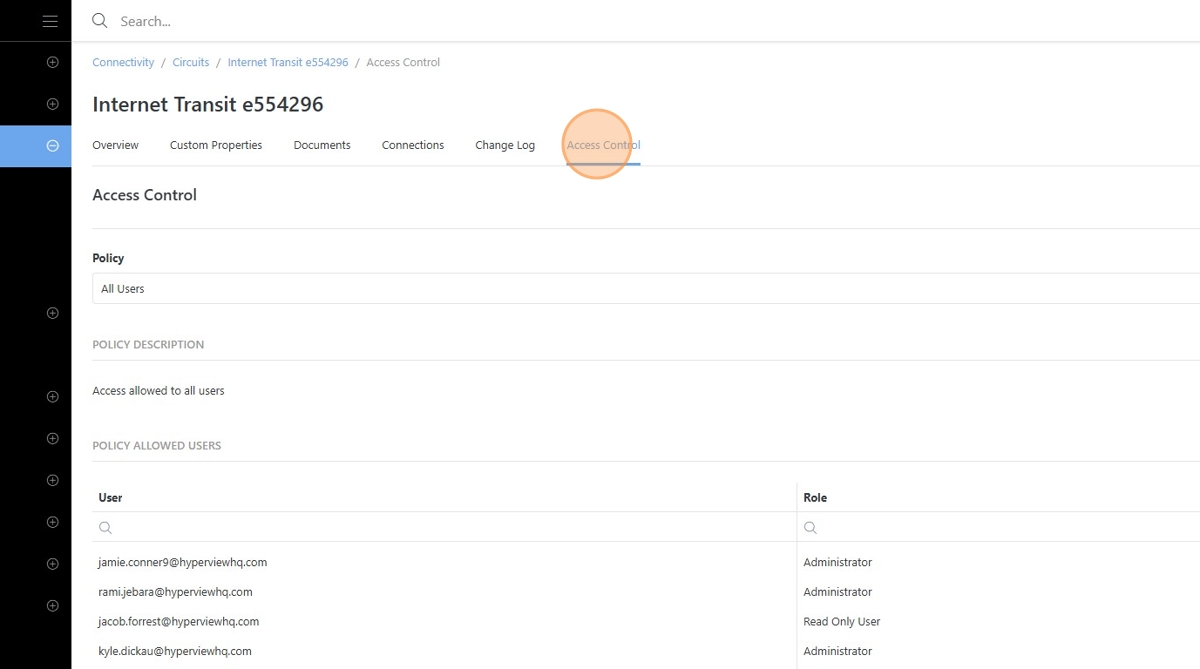
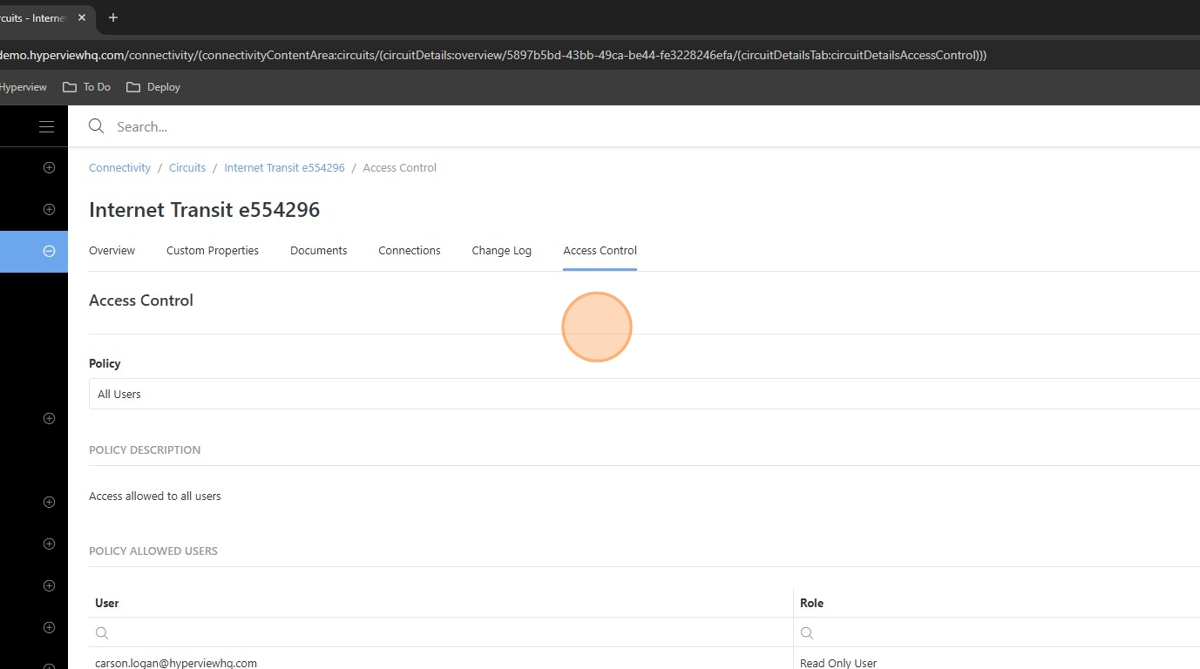
Specify Access Policies from the Access Control page to determine what users may interact with or view the circuit.